
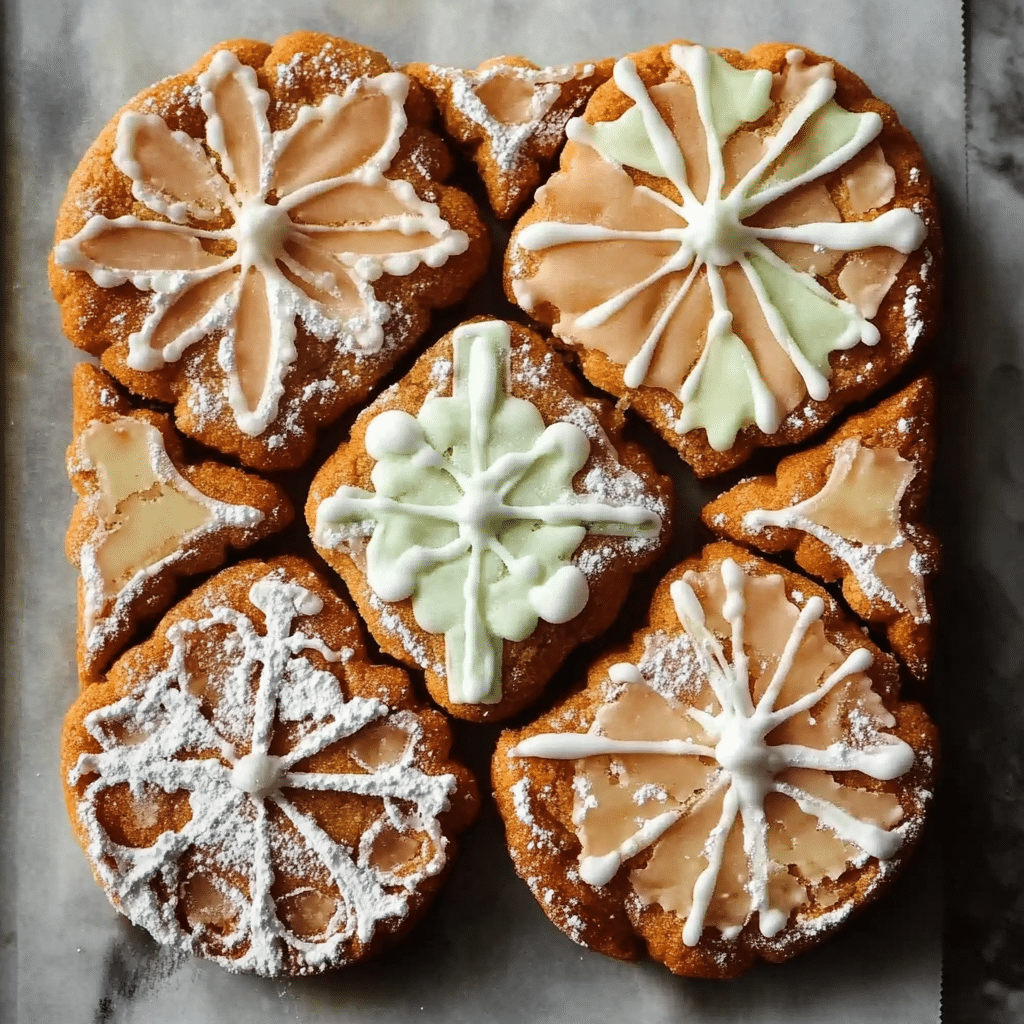
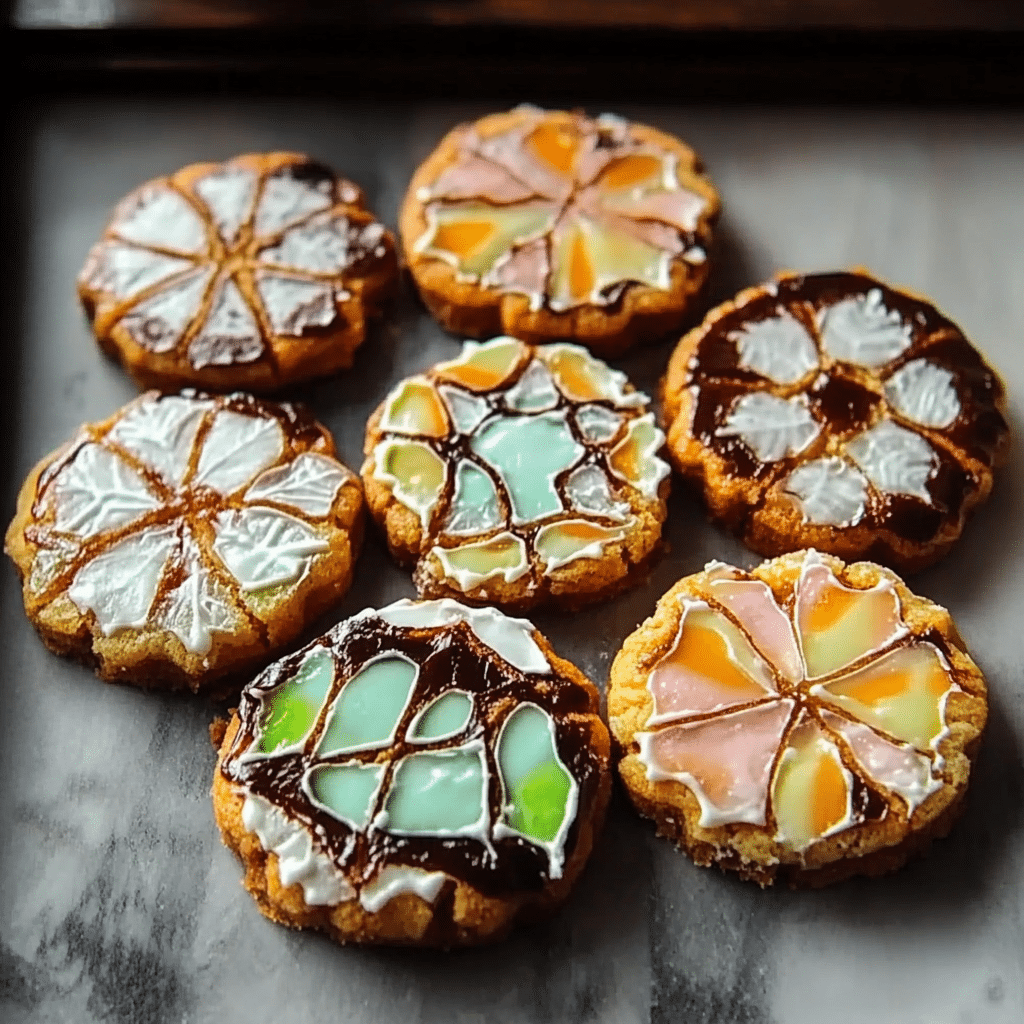
Church Window Cookies are a fun, no-bake holiday treat that combines colorful candy pieces, marshmallows, and chocolate into a festive, eye-catching delight. These cookies get their name from their resemblance to stained glass windows, with bright, vibrant swirls of candy acting as a visual centerpiece. Chewy, crunchy, and chocolaty, they’re a perfect treat for holiday gatherings, parties, or gifting.
I first made Church Window Cookies as a nostalgic project to bring back memories of my childhood baking days. The combination of melted chocolate, candy, and marshmallows creates a unique texture and a perfect mix of sweetness and crunch. The visual appeal of the “stained glass” effect brings an extra pop of holiday cheer to any dessert table.
What I love about this recipe is how easy it is to make and customize. You can use a variety of colorful candies like M&Ms, gummy bears, or chocolate chips, and you can even add nuts or dried fruit for extra texture. Whether rolled into logs, cut into bars, or shaped into wreaths, Church Window Cookies are a delightful, simple treat that adds a beautiful, festive touch to any holiday spread.
Perfect for:
- Christmas celebrations
- Holiday cookie exchanges
- Quick and easy dessert recipes
- Nostalgic treats
- Fun baking projects with kids
Why You’ll Love This Recipe
Here are 10 reasons why Church Window Cookies will become a holiday favorite:
- Colorful Presentation: The bright, jewel-toned marshmallows create a stunning stained-glass effect.
- No-Bake Convenience: Perfect for when you want a quick dessert without using the oven.
- Easy to Make: Requires minimal effort and basic ingredients.
- Kid-Friendly: A fun and simple recipe to make with little helpers.
- Customizable: Switch up the nuts or marshmallow colors for a personalized touch.
- Perfect for Gifting: Wrapped in cellophane or tucked in a box, they make thoughtful holiday gifts.
- Crowd-Pleaser: Loved by kids and adults alike, making them a hit at any gathering.
- Make-Ahead Friendly: Prepare in advance and slice as needed for convenience.
- Minimal Ingredients: Uses pantry staples for an easy dessert solution.
- Festive and Fun: Brings a playful touch to your holiday dessert spread.
Preparation and Cooking Time
- Total Time: 1 hour (including chilling time)
- Preparation Time: 15 minutes
- Chilling Time: 45 minutes
- Servings: 20 slices (approximately)
- Calories per serving: 150-180 calories
- Key Nutrients: Protein: 2g, Carbs: 18g, Fat: 8g
Ingredients
- 12 oz (340g) semisweet chocolate chips
- ½ cup unsalted butter
- 1 teaspoon vanilla extract
- 10 oz (280g) colored mini marshmallows
- 1 cup chopped nuts (e.g., walnuts or pecans)
- Shredded coconut (optional, for rolling)
Ingredient Highlights
- Colored Mini Marshmallows: Provide the stained-glass window effect.
- Semisweet Chocolate Chips: Create the rich, chocolatey base.
- Chopped Nuts: Add a satisfying crunch.
- Shredded Coconut: Adds flavor and texture when used for coating.
Step-by-Step Instructions
Prepare the Mixture:
- Melt Chocolate and Butter: In a large saucepan, melt the chocolate chips and butter over low heat, stirring constantly until smooth.
- Cool Slightly: Remove from heat and stir in the vanilla extract. Let the mixture cool for about 5 minutes to avoid melting the marshmallows.
- Combine Ingredients: Fold in the mini marshmallows and chopped nuts until evenly coated with the chocolate mixture.
Shape and Chill:
- Form Logs: Divide the mixture into two portions. Place each portion on a sheet of wax or parchment paper. Shape into a log approximately 2 inches in diameter.
- Roll in Coconut (Optional): Sprinkle shredded coconut on the paper and roll the log to coat.
- Wrap and Chill: Wrap each log tightly in the wax paper and refrigerate for at least 45 minutes or until firm.
Slice and Serve:
- Slice Logs: Unwrap the chilled logs and slice them into ½-inch thick cookies.
- Plate and Enjoy: Arrange on a festive plate and serve!
Serving Suggestions
Here are 10 creative ways to serve Church Window Cookies:
- On a Holiday Dessert Tray: Add to a festive assortment of cookies and treats.
- Paired with Hot Chocolate: Perfect for cozy winter evenings.
- As Stocking Stuffers: Wrap slices individually for a sweet surprise.
- At Cookie Swaps: A standout addition to any cookie exchange.
- With Ice Cream: Serve alongside a scoop of vanilla or chocolate ice cream.
- For Gifting: Package in decorative tins or boxes for a thoughtful gift.
- As a Party Favor: Individually wrap slices for guests to take home.
- On a Rustic Board: Pair with dried fruits and nuts for a creative dessert board.
- For Kids’ Parties: Serve as a colorful, fun treat.
- With Coffee or Tea: Enjoy a slice with your favorite warm beverage.
Additional Tips
- Use Fresh Ingredients: Ensure that your chocolate, candies, and other ingredients are fresh to get the best taste and texture.
- Chop Candies Evenly: Chop your hard candies into small, even pieces to create a more uniform and attractive window effect.
- Pre-Line Your Tray: Line your baking tray with parchment paper or silicone mats to prevent sticking and make cleanup easier.
- Be Patient with Melting Chocolate: Melt your chocolate slowly using a double boiler or microwave in short bursts to prevent burning.
- Control the Temperature: Chill your cookies in the refrigerator for at least 15-30 minutes before serving to allow the chocolate and candy windows to set completely.
- Experiment with Colors: Use a variety of colored candies to create more vibrant and eye-catching window patterns.
- Add Nuts for Texture: If you want some crunch, consider adding chopped nuts like walnuts or pecans.
- Use a Cookie Cutter for Shapes: Once set, you can use cookie cutters to create fun shapes like stars, hearts, or squares.
- Store Properly: Keep cookies in an airtight container at room temperature or in the refrigerator if you live in a warmer climate.
- Decorate Creatively: Add powdered sugar dust or drizzle extra melted chocolate on top for a decorative finishing touch.
Recipe Variations
- Classic Church Window Cookies: Keep it traditional with chocolate, mini marshmallows, and colorful candies, stacked together to form the iconic window shapes.
- Peanut Butter Twist: Add creamy peanut butter to the melted chocolate mixture for a nutty flavor profile.
- White Chocolate Delight: Replace dark chocolate with white chocolate, paired with mini marshmallows and pastel candies.
- Nutty Church Windows: Incorporate chopped walnuts or almonds into the mixture for a crunchy texture.
- Fruit & Nut Variation: Add dried fruits (cranberries, raisins) and nuts to the mixture for a chewy and nutritious twist.
- Mint Chocolate Variation: Use mint chocolate chips or peppermint extract along with crushed candy canes for a cool twist.
- Caramel Church Windows: Drizzle soft caramel sauce into your chocolate mixture before layering in the marshmallows and candies.
- Rainbow Church Windows: Use a variety of multicolored candies and mini marshmallows to create a vibrant, rainbow effect.
- Coconut Infused Church Windows: Sprinkle shredded coconut flakes into your chocolate mixture for added texture and a tropical flair.
- S’mores Church Windows: Mix in crushed graham crackers, mini marshmallows, and chocolate chips to recreate a s’mores experience.
Special Equipment
- Baking Sheet/Pan – For spreading and cooling the cookies.
- Parchment Paper – To prevent sticking and for easy cleanup.
- Microwave-Safe Bowl – For melting chocolate.
- Double Boiler – An alternative method to melt chocolate gently.
- Spatula – For spreading melted chocolate evenly.
- Knife or Bench Scraper – For cutting cookies into shapes or sizes.
- Measuring Cups and Spoons – For accurate measurements of ingredients.
- Mixing Bowls – To combine melted chocolate, candy pieces, and other ingredients.
- Rubber or Silicone Spoonula – Combines spooning and scraping, useful for mixing sticky ingredients.
- Cooling Rack – For letting cookies cool completely and set properly.
FAQ Section
- Can I use different marshmallows?
Yes, regular mini marshmallows or themed shapes work, but colored ones add the classic stained-glass effect. - How long do these cookies last?
Store in the fridge for up to 7 days or freeze for up to 2 months. - Can I make these without nuts?
Absolutely! Omit the nuts or replace them with seeds or crispy cereal. - Can I melt the chocolate in the microwave?
Yes, microwave in 30-second intervals, stirring in between, until smooth. - What can I use instead of coconut for coating?
Roll logs in powdered sugar or leave them plain. - How do I prevent the chocolate from seizing?
Melt the chocolate and butter slowly over low heat and avoid adding water. - Can I use white chocolate?
Yes, white chocolate creates a sweeter variation. - Do these cookies need to be refrigerated?
Yes, keep them chilled to maintain their shape and texture. - Can I use vegan marshmallows?
Yes, vegan marshmallows and dairy-free chocolate can be used for a vegan version. - Can I double the recipe?
Definitely! Simply double the ingredients to make more logs.
Conclusion
Church Window Cookies are a nostalgic no-bake treat that shines with vibrant colors and sweet chocolatey goodness. Made with melted chocolate, mini marshmallows, and crushed graham crackers, these cookies resemble stained glass windows, making them a festive favorite for holiday gatherings and potlucks.
Quick and easy to prepare, these cookies are as fun to make as they are to eat. Roll the mixture into a log, chill, and slice to reveal the colorful “window” effect. Customize them with shredded coconut, chopped nuts, or a drizzle of white chocolate for an extra festive touch.
I’d love to see your Church Window Cookie creations! Share your photos on Instagram and tag me so I can admire your beautiful, colorful treats. Don’t forget to comment and let me know how you made them your own—maybe with unique marshmallow colors, a sprinkle of edible glitter, or a dash of peppermint extract for a holiday twist!