

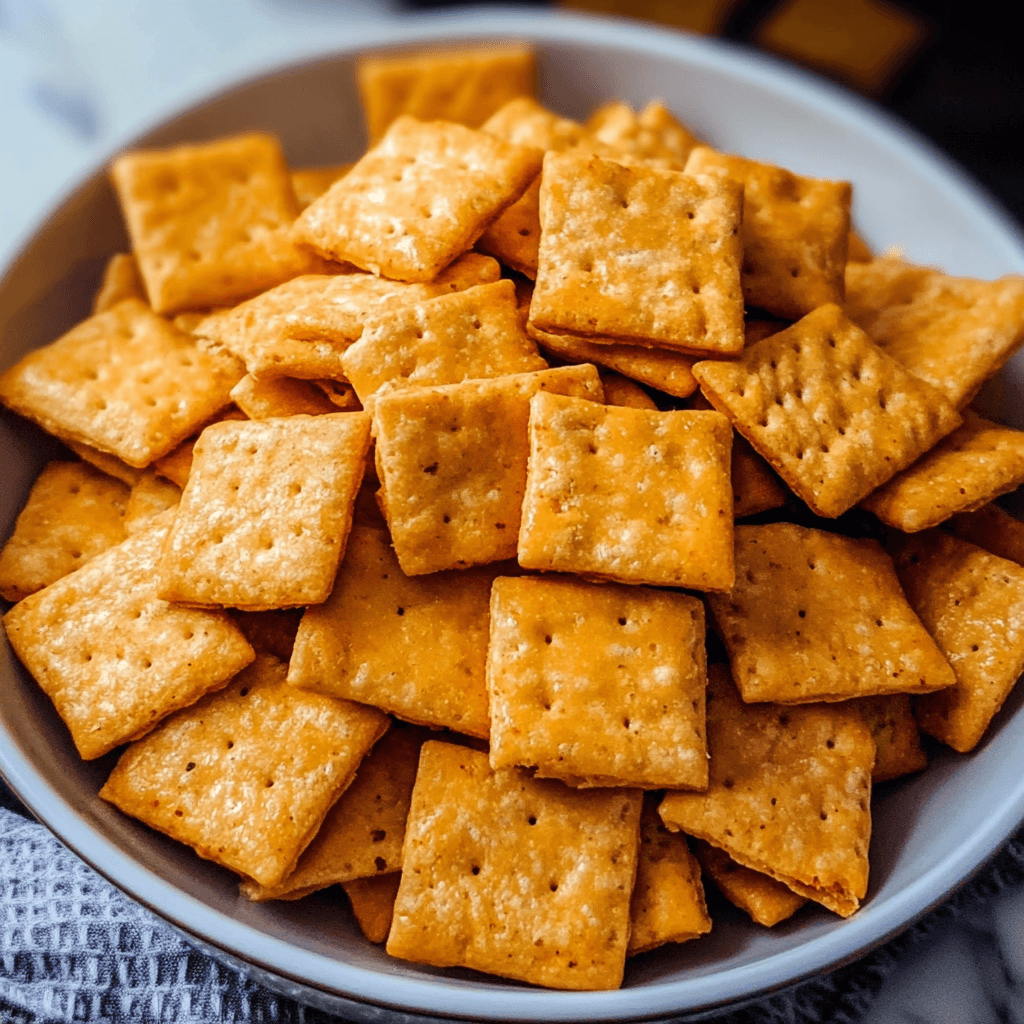
Homemade Cheez-Its are crispy, cheesy, and packed with bold cheddar flavor—just like the store-bought version but even better! Made with real cheese, butter, and flour, these bite-sized crackers have the perfect crunch and a rich, tangy taste.
I first made these when I was craving a nostalgic snack but wanted a homemade version with simple ingredients. The dough came together quickly, and after baking, I had golden, flaky crackers that were addictively delicious. They disappeared faster than I expected!
What’s great about Homemade Cheez-Its is how easy they are to customize. You can add a pinch of cayenne for spice, swap in different cheeses, or sprinkle them with extra salt for that signature crunch. Whether you’re snacking, packing them in lunches, or serving them at a party, these homemade crackers are guaranteed to be a hit!
Perfect for:
- Snack lovers
- Lunchbox additions
- Party appetizers
- Cheese enthusiasts
- Game night munchies
Why You’ll Love This Recipe
Here are 10 reasons why these Homemade Cheez-Its will become your new favorite snack:
- Bold Cheesy Flavor: Made with real sharp cheddar cheese for an authentic, tangy taste.
- Crispy and Crunchy: Achieves that signature light and crispy texture with a flaky bite.
- Simple Ingredients: Requires only a handful of pantry staples.
- No Preservatives: A healthier alternative to store-bought versions with no artificial additives.
- Kid-Friendly: Perfect for school lunches or after-school snacks.
- Customizable: Easily tweak the recipe with different cheeses and seasonings.
- Quick and Easy: Simple prep and baking process make these crackers beginner-friendly.
- Make-Ahead Friendly: Store well for convenient snacking throughout the week.
- Budget-Friendly: More cost-effective than buying name-brand cheese crackers.
- Fun to Make: A great cooking project for kids and families.
Preparation and Cooking Time
- Total Time: 1 hour
- Preparation Time: 20 minutes
- Chilling Time: 30 minutes
- Cooking Time: 10-15 minutes
- Servings: About 100 small crackers
- Calories per serving: Approximately 150 calories (per 15 crackers)
- Key Nutrients: Protein: 5g, Carbs: 10g, Fat: 11g
Ingredients
For the Cheez-Its:
- 1 ½ cups sharp cheddar cheese, shredded
- 4 tablespoons unsalted butter, cold and cubed
- ¾ cup all-purpose flour
- ½ teaspoon salt
- ½ teaspoon garlic powder (optional)
- ½ teaspoon paprika (optional, for color)
- 2 tablespoons ice water
Ingredient Highlights
- Sharp Cheddar Cheese: Provides the classic tangy and bold flavor.
- Cold Butter: Ensures a flaky, crisp texture similar to pie dough.
- Paprika: Enhances the golden color and adds a subtle smoky note.
- Ice Water: Helps bind the dough without making it too wet.
Step-by-Step Instructions
Make the Dough:
- Combine Dry Ingredients: In a food processor, pulse together flour, salt, garlic powder, and paprika.
- Add Cheese and Butter: Pulse in shredded cheese and cold butter until the mixture resembles coarse crumbs.
- Add Ice Water: Gradually add ice water, one tablespoon at a time, pulsing until the dough comes together.
- Chill Dough: Form the dough into a disc, wrap in plastic wrap, and refrigerate for 30 minutes.
Roll and Cut:
- Preheat Oven: Set oven to 375°F (190°C) and line a baking sheet with parchment paper.
- Roll Out Dough: On a floured surface, roll the dough to about 1/8-inch thickness.
- Cut Crackers: Use a sharp knife or pizza cutter to cut into 1-inch squares.
- Create the Signature Hole: Use a toothpick or skewer to poke a hole in the center of each square.
- Transfer to Baking Sheet: Place the cut squares on the prepared baking sheet, leaving space between each cracker.
Bake the Crackers:
- Bake: Bake for 10-15 minutes, or until the crackers are golden brown and crisp.
- Cool and Serve: Let crackers cool completely before serving or storing.
How to Serve
Here are 9 serving suggestions for Homemade Cheez-Its:
- As a Classic Snack: Enjoy them straight from the container.
- With Dips: Pair with hummus, ranch, or cream cheese spreads.
- On a Cheese Board: Serve alongside meats, nuts, and fruits.
- In a Lunchbox: A perfect addition to kids’ school lunches.
- With Soup: Pair with tomato soup or chowder for a crunchy contrast.
- As a Salad Topper: Crumble over salads for extra texture.
- In Party Mixes: Combine with nuts, pretzels, and dried fruit.
- As a Homemade Gift: Package in a jar with a ribbon for a thoughtful snack gift.
- For Road Trips: A portable snack option for long journeys.
Additional Tips
- Use Cold Butter – Just like making pie dough, using cold butter helps create a flaky, crispy texture in your crackers.
- Chill the Dough – Refrigerating the dough for at least 30 minutes before rolling helps prevent spreading and enhances the crunch factor.
- Roll Thin – Aim for about 1/8 inch thickness to achieve that signature crispy bite. Thicker crackers may turn out soft rather than crunchy.
- Use Sharp Cheddar – Aged or extra-sharp cheddar delivers the best flavor, mimicking the real Cheez-It taste. Avoid pre-shredded cheese, as it contains anti-caking agents that affect texture.
- Poke a Hole in the Center – This not only gives your crackers the classic Cheez-It look but also prevents them from puffing up too much while baking.
- Bake Until Deep Golden – A slightly darker bake results in maximum crunch and deepens the cheesy flavor. Watch them closely in the last few minutes to avoid burning.
- Use a Pastry Cutter or Pizza Wheel – Cutting the dough with a pastry cutter or pizza wheel makes quick work of shaping the crackers into even squares.
- Sprinkle with Salt Before Baking – A light dusting of flaky sea salt enhances the flavor and gives them that addictive savory kick.
- Let Them Cool Completely – The crackers will continue to crisp up as they cool. If they seem soft, pop them back in the oven for a few extra minutes.
- Store in an Airtight Container – To maintain freshness and crunch, store homemade Cheez-Its in an airtight container at room temperature for up to a week.
Recipe Variations
- Spicy Cheddar – Add ½ teaspoon of cayenne pepper or red pepper flakes to the dough for a fiery kick.
- Garlic Parmesan – Mix in 1 teaspoon of garlic powder and swap half of the cheddar for grated Parmesan cheese.
- Ranch-Style – Stir in 1 tablespoon of dry ranch seasoning to infuse the crackers with a zesty, herby flavor.
- Smoky Chipotle – Blend in ½ teaspoon of smoked paprika and a pinch of chipotle powder for a deep, smoky taste.
- Italian Herb – Add 1 teaspoon of dried oregano and basil to the dough for a savory Mediterranean twist.
- Everything Bagel – Sprinkle the crackers with everything bagel seasoning before baking for extra crunch and flavor.
- Pepper Jack – Replace half of the cheddar with shredded pepper jack cheese and add a dash of black pepper for a spicy, creamy blend.
- Truffle Cheddar – Drizzle the dough with a small amount of truffle oil and use aged white cheddar for a gourmet touch.
- Honey Butter Cheddar – Mix 1 tablespoon of honey into the dough and brush the baked crackers with melted butter for a sweet-savory balance.
- Dijon Cheddar – Add 1 teaspoon of Dijon mustard to the dough for a tangy depth of flavor that enhances the sharpness of the cheese.
Special Equipment
- Food Processor: Helps blend the ingredients quickly.
- Rolling Pin: Ensures an even cracker thickness.
- Pizza Cutter: Makes cutting squares fast and easy.
- Toothpick: Creates the signature hole in the center.
- Parchment Paper: Prevents sticking and makes cleanup easier.
- Airtight Container: Keeps crackers fresh for storage.
FAQ Section
- Can I use any type of cheese for homemade Cheez-Its?
Yes! Cheddar is the classic choice, but you can experiment with sharp cheddar, Parmesan, or even a mix of cheeses for different flavors. - Do I need a food processor to make the dough?
A food processor makes it easier to mix the dough, but you can also use a pastry cutter or your hands to combine the ingredients. - How do I get that crispy texture?
Rolling the dough thin (about 1/8 inch) and baking at a high temperature (375°F to 400°F) helps achieve the perfect crispiness. - Can I make these without butter?
Yes, but butter adds flavor and texture. You can try substituting with margarine or a vegan butter alternative. - How long do homemade Cheez-Its stay fresh?
Store them in an airtight container at room temperature for up to a week. If they lose crispiness, reheat in the oven for a few minutes. - Can I freeze the dough for later?
Absolutely! Wrap the dough tightly in plastic wrap and freeze for up to a month. Thaw in the fridge before rolling and baking. - What’s the best way to cut them into squares?
A pizza cutter or pastry wheel works great, but a sharp knife will do the trick too. Aim for even-sized squares for uniform baking. - Do I need to poke a hole in each cracker?
Yes! The hole prevents air bubbles from forming, keeping the crackers flat and crispy. Use a toothpick or skewer. - Can I make these gluten-free?
Yes, substitute all-purpose flour with a gluten-free flour blend. The texture may vary slightly, so adjust as needed.
Conclusion
Homemade Cheez-Its are crispy, cheesy, and packed with bold cheddar flavor—just like the classic snack but even better! Made with real sharp cheddar, butter, flour, and a touch of salt, these homemade cheese crackers bake up light, flaky, and totally addictive.
This recipe is easy to customize—try using white cheddar, Pepper Jack, or even a blend of cheeses for a unique twist. Add a sprinkle of paprika, garlic powder, or cayenne for extra flavor, or make them extra crunchy by baking a little longer. Whether you’re enjoying them as a snack, packing them in lunchboxes, or serving them on a charcuterie board, these homemade Cheez-Its are sure to be a hit!
I can’t wait to see how your Homemade Cheez-Its turn out! Be sure to share your photos on Instagram and tag me—I’d love to see your delicious creations. Don’t forget to leave a comment and let me know how you made this recipe your own!