
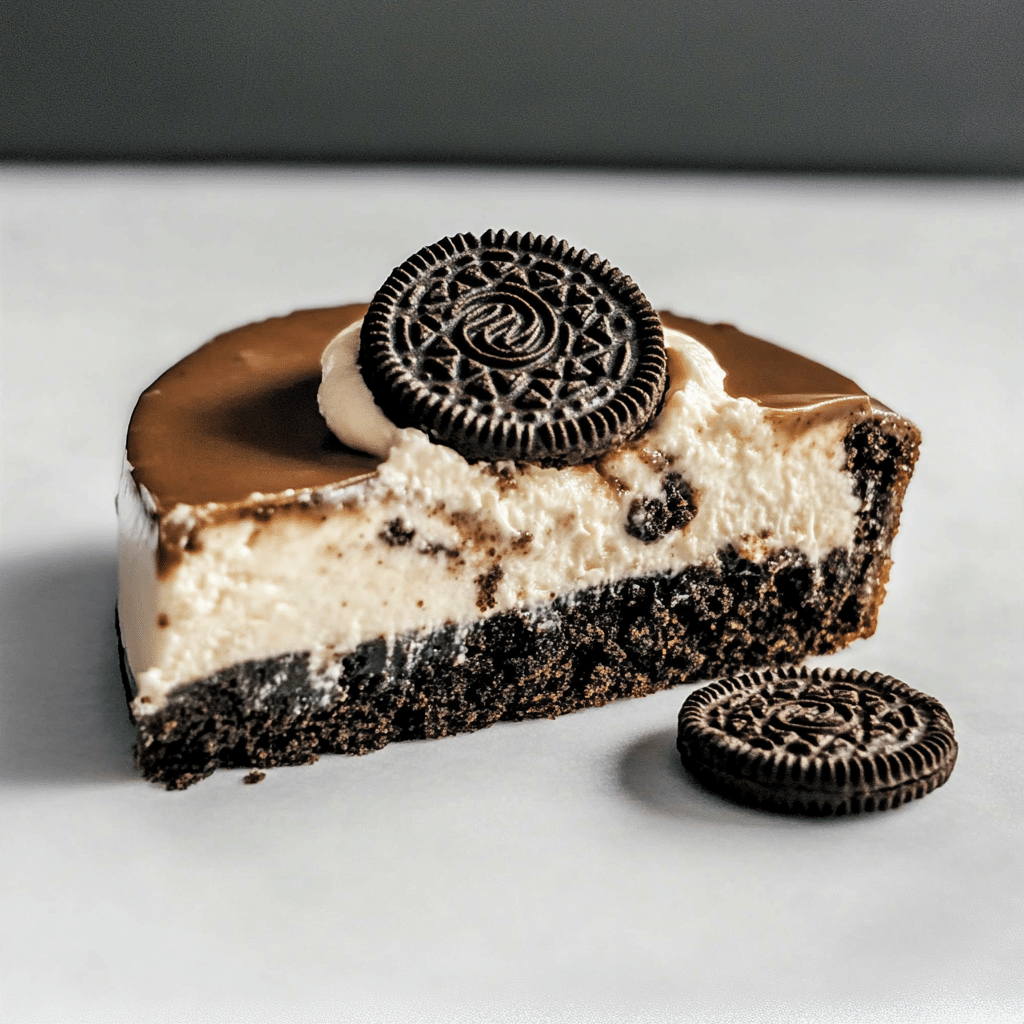
Oreo Cheesecake is the ultimate indulgence for dessert lovers, offering a decadent combination of creamy richness and satisfying crunch. The velvety cheesecake filling is packed with the delightful flavor of cream cheese, perfectly balanced by the unmistakable taste of Oreos. The crust, made from crushed Oreos, adds a satisfying texture that pairs beautifully with the smooth, luscious interior. Every bite feels like a decadent treat, blending classic cheesecake luxury with the irresistible allure of everyone’s favorite cookie.
I first tried this cheesecake on a weekend when I was in the mood to experiment in the kitchen. I wanted something that felt indulgent but didn’t compromise on flavor. The idea of adding Oreos into the mix felt like a no-brainer—and it turned out to be a game-changer. The contrast between the soft, creamy cheesecake and the crunchiness of the Oreo crust was simply heavenly. What I love most about this recipe is how customizable it can be—you can pile on extra crushed Oreos for a more intense crunch, add a drizzle of chocolate ganache, or even layer in some caramel for an extra twist of sweetness.
Perfect for:
- Celebratory events
- Birthdays
- Dinner parties
- Holiday desserts
- Oreo and cheesecake lovers
Why You’ll Love This Recipe
Here are 10 reasons why this Oreo Cheesecake will become your go-to indulgence:
- Classic Oreo Flavor: The combination of creamy cheesecake and crunchy Oreos delivers a satisfying contrast.
- No-Bake Option: This recipe can be made without the need for baking.
- Perfect Texture Balance: A mix of smooth cheesecake filling and crispy crust creates a delightful bite.
- Easy to Customize: Add chocolate ganache, caramel, or extra toppings for variations.
- Great for Any Occasion: Whether it’s a birthday, holiday, or casual get-together, it fits perfectly.
- Make-Ahead Convenience: Prepare the cheesecake a day in advance and chill until serving.
- Rich and Creamy Filling: The cheesecake’s velvety texture melts in your mouth.
- Visually Appealing: The crushed Oreos on top add a rustic yet elegant finish.
- Crowd-Pleasing Dessert: A beloved favorite that caters to both young and old.
- Minimal Ingredients Needed: Simple, accessible ingredients for a delightful dessert.
Preparation and Cooking Time
- Total Time: 4 hours (including chilling time)
- Preparation Time: 20 minutes
- Cooking Time: 1 hour (if baked)
- Chilling Time: 3 hours
- Servings: 12 servings
- Calories per serving: Approximately 450-500 calories
- Key Nutrients: Protein: 7g, Carbs: 55g, Fat: 30g
Ingredients
For the Oreo Crust:
- 2 cups Oreo cookies, crushed
- ¼ cup unsalted butter, melted
The Cheesecake Filling:
- 16 oz cream cheese, softened
- 1 cup granulated sugar
- 1 teaspoon vanilla extract
- 1 cup heavy cream, whipped
- 1 cup crushed Oreos (for folding into the filling)
For the Topping:
- ½ cup crushed Oreos
- Optional: Chocolate syrup or whipped cream for decoration
Ingredient Highlights
- Oreo Cookies: Provide a delightful crunch and classic flavor.
- Cream Cheese: The key ingredient for a rich, creamy texture.
- Granulated Sugar: Adds the perfect amount of sweetness.
- Whipped Cream: Provides a light, fluffy contrast to the dense cheesecake filling.
Step-by-Step Instructions
Make the Oreo Crust:
- Prepare Pan: Grease a 9-inch springform pan and line the bottom with parchment paper.
- Crush Oreos: Combine crushed Oreos with melted butter in a bowl.
- Form the Crust: Press the mixture into the bottom of the pan, creating an even crust. Chill the crust in the freezer while preparing the filling.
Prepare the Cheesecake Filling:
- Beat Cream Cheese and Sugar: In a large bowl, beat softened cream cheese and sugar until smooth and creamy.
- Add Vanilla Extract: Mix in vanilla extract until fully incorporated.
- Fold in Whipped Cream: Gently fold in the whipped cream until the mixture is smooth and fluffy.
- Add Crushed Oreos: Mix in the crushed Oreos for added texture and flavor.
Assemble the Cheesecake:
- Spread the Filling: Pour the cheesecake mixture onto the prepared crust, smoothing the top with a spatula.
- Chill the Cheesecake: Cover the pan with plastic wrap and refrigerate for at least 3 hours until firm.
Prepare the Topping:
- Add Crushed Oreos: Sprinkle crushed Oreos evenly over the top of the chilled cheesecake.
- Optional Decoration: Drizzle chocolate syrup or add a dollop of whipped cream for extra flair.
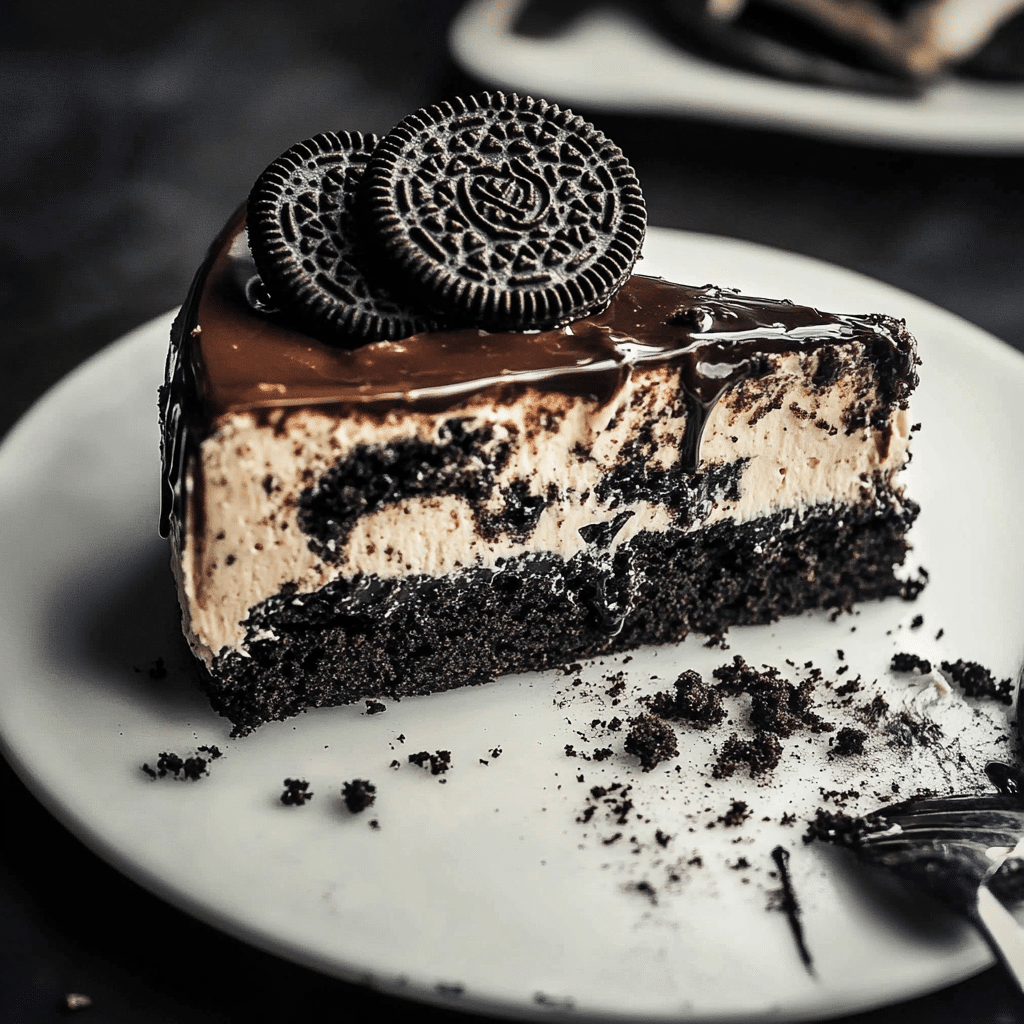
How to Serve
Here are 10 serving suggestions for Oreo Cheesecake:
- As a Birthday Treat: A standout centerpiece for birthdays and special occasions.
- With Chocolate Syrup: Add a drizzle of chocolate syrup for extra indulgence.
- On Special Occasions: Perfect for holiday gatherings and dinner parties.
- With Whipped Cream: Serve with a dollop of fresh whipped cream for added creaminess.
- Mini Cheesecake Bites: Use a muffin pan to make mini-sized cheesecakes for easy sharing.
- Garnished with Oreo Crumbs: Create a textured topping with more crushed Oreos.
- With Hot Coffee or Tea: Pair slices with your favorite hot beverage.
- As a Gift: Wrap up this cheesecake and present it as a delicious homemade gift.
- Layered Dessert Option: Add chocolate ganache or caramel layers for a twist.
- Frozen Version: Freeze slices for a cool, refreshing treat during hot days.
Additional Tips
- Use Quality Oreos: Use standard Oreos for the crust and topping, but you can experiment with flavored Oreos like double-stuff or mint for a unique twist.
- Chill Time Is Key: Allow your cheesecake to chill for at least 4 hours (or overnight) to ensure it sets properly.
- Soften the Cream Cheese: Make sure the cream cheese is at room temperature before mixing—it blends more smoothly and avoids lumps.
- Crush Oreos Evenly: Use a food processor or a rolling pin to crush Oreos evenly for a consistent crust texture.
- Layer Strategically: Place crushed Oreos both at the bottom for the crust and sprinkle them on top for added texture and visual appeal.
- Add Vanilla Extract: A teaspoon of vanilla extract enhances the flavor and adds a subtle aromatic touch.
- Don’t Overmix: Overmixing the cream cheese filling can introduce air bubbles, causing cracks in the cheesecake. Mix until just combined.
- Water Bath Method: Bake your cheesecake in a water bath to maintain even temperatures and prevent cracking.
- Decorate Creatively: Use whipped cream, extra Oreos, chocolate drizzle, or fresh berries for an attractive and delicious topping.
- Experiment with Flavors: Try adding a hint of coffee, caramel, or chocolate syrup to the filling to elevate the overall taste of your Oreo cheesecake.
Recipe Variations
- Double Chocolate Oreo Cheesecake: Add chocolate ganache layers for a richer chocolate experience.
- Peanut Butter Oreo Cheesecake: Mix in peanut butter for a delightful nutty twist.
- Strawberry Oreo Cheesecake: Add fresh strawberries and strawberry sauce on top.
- Mint Oreo Cheesecake: Use mint-flavored Oreos to add a refreshing twist.
- Coffee Oreo Cheesecake: Mix in espresso powder for a unique, energizing flavor.
- Vegan Oreo Cheesecake: Use cashews and coconut cream for a plant-based option.
- Gluten-Free Oreo Crust: Substitute regular Oreos with gluten-free versions.
Special Equipment
- Springform Pan – Essential for easily removing the cheesecake without breaking it.
- Food Processor – Great for crushing Oreos into fine crumbs for the crust.
- Stand Mixer or Hand Mixer – Ensures a smooth and fluffy cheesecake batter.
- Rubber Spatula – Perfect for folding ingredients and scraping the sides of the bowl.
- Measuring Cups and Spoons – Accurate measurements for all your ingredients.
- Mixing Bowls (Glass or Stainless Steel) – Used for mixing batter, crust, and toppings.
- Parchment Paper – Helps with lining the bottom of the pan for easy removal.
- Baking Sheet – Often placed under the springform pan to catch any drips during baking.
- Cooling Rack – Allows the cheesecake to cool evenly after baking.
- Offset Spatula – For smoothing out the top layer of the cheesecake for a polished finish.
FAQ Section
- Can I use regular Oreos instead of Double Stuff Oreos?
Yes, both work well, and you can choose your preference for creaminess. - How long does this cheesecake last in the fridge?
Store it in the fridge for up to 5 days in an airtight container. - Can I freeze the Oreo cheesecake?
Yes, it can be frozen for up to 2 months. Thaw in the refrigerator before serving. - What can I substitute for whipped cream in the filling?
Use coconut cream or a vegan whipping agent as an alternative. - How do I prevent cracks on the cheesecake top?
Bake at a low temperature or cool the cheesecake in the oven gradually. - Is it necessary to crush Oreos for the crust?
Yes, the crushed Oreos create a satisfying crust texture. - Can I make this cake without baking?
Absolutely! Use gelatin or a no-bake crust to set the cheesecake without an oven. - What if my crust is too loose?
Press the crust mixture more firmly into the pan and chill it before adding the filling. - Can I use flavored Oreos in this cheesecake?
Yes! Try mint, caramel, or peanut butter Oreos for different variations. - How do I cut the cheesecake cleanly?
Use a sharp knife dipped in hot water, then wiped dry, to achieve neat slices.
Conclusion
Oreo Cheesecake is a dreamy, decadent dessert that combines the creamy, rich goodness of classic cheesecake with the irresistible crunch and flavor of Oreos. Featuring a buttery Oreo crust, a velvety cream cheese filling, and a generous topping of crushed Oreos, this dessert offers the perfect balance of creamy, sweet, and crunchy textures in every bite.
Whether you’re celebrating a special occasion, hosting a gathering, or simply craving a satisfying treat, this cheesecake is a guaranteed crowd-pleaser. Add a drizzle of chocolate ganache or a dollop of whipped cream for an extra touch of indulgence.
I can’t wait to see how your Oreo Cheesecake turns out! Be sure to share your photos on Instagram and tag me—I’d love to see your delicious creation. Don’t forget to leave a comment and let me know how you made this cheesecake your own!